

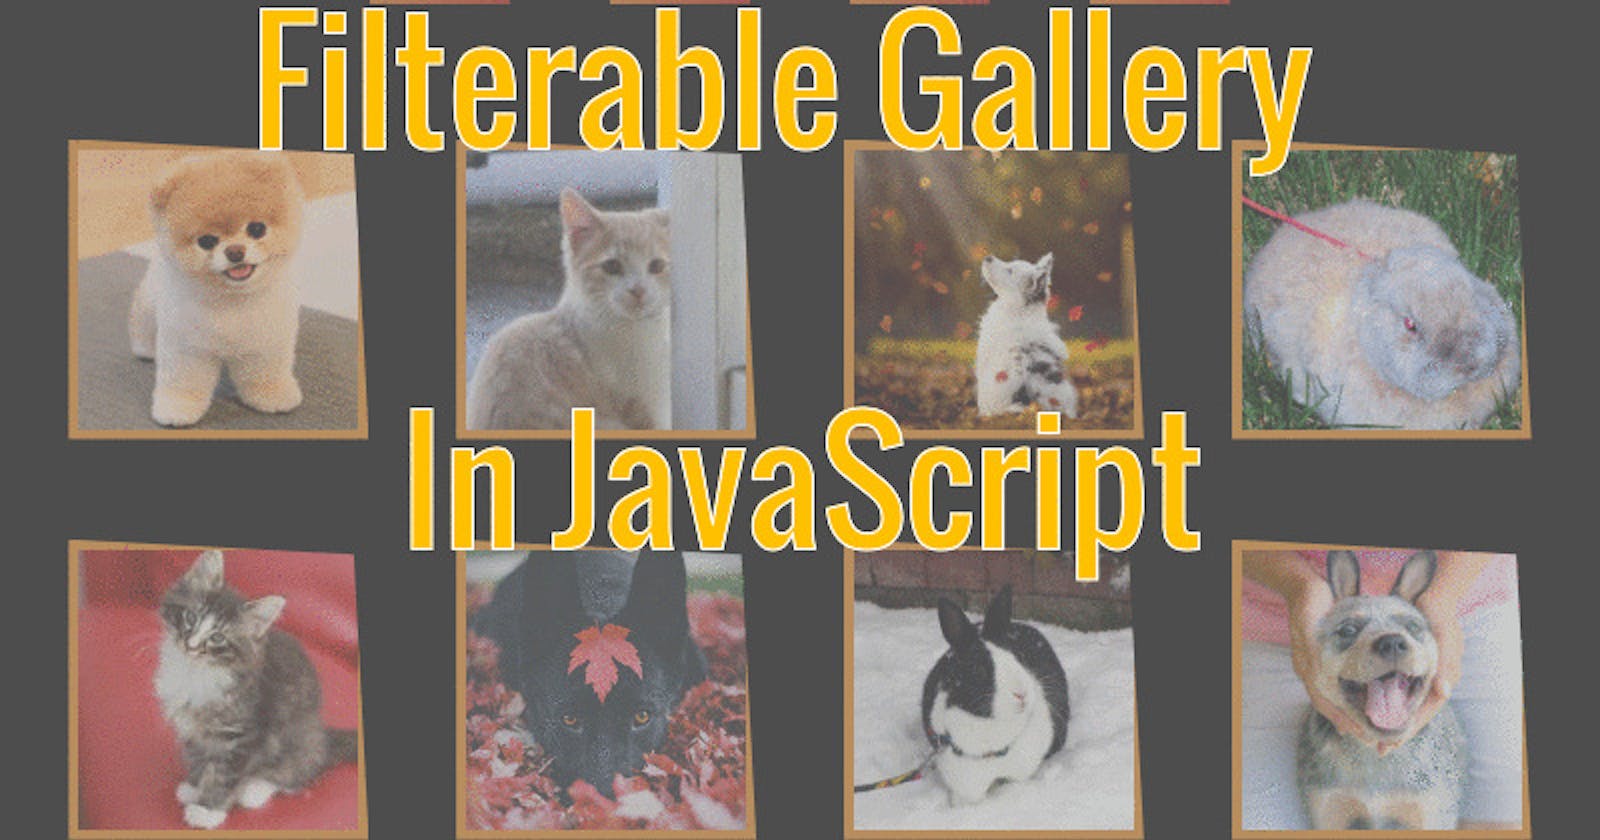


In this tutorial we're going to build a filterable gallery, meaning we can filter the images by clicking on a selected button. Take a look at the finished project.
So let's start.
Method
We'll have buttons and images with data attribute. On each button click, if the button's data text matches to the data text of the images, the matched images will be visible. Otherwise the rest of the images will be hidden. Although we're filtering images, any divs can be filtered with the same approach.
HTML
First add the buttons inside the nav tag.
<nav>
    <button data-tag="all" class="btn">All</button>
    <button data-tag="dog" class="btn">Dog</button>
    <button data-tag="cat" class="btn">Cat</button>
    <button data-tag="rabbit" class="btn">Rabbit</button>
</nav>
Now let's add the images inside main tag. Give the data-tag on categorywise.
<main>
    <img data-tag="dog" class="card" alt="dog" src="http://www.smalldogbreeds.info/wp-content/uploads/2016/02/teddy-bear-pomeranian.gif">
    <img data-tag="cat" class="card" alt="cat" src="https://placekitten.com/150/150">
    <img data-tag="rabbit" class="card" alt="rabbit" src="https://rabbit.org/graphics/fun/netbunnies/vincent-langhans1.jpg">

    <!-- add as many as you want -->

</main>
CSS
Now it's time to style. First style the buttons. I've done some styling to make things look nicer. Feel free to apply your own taste.
nav {
    min-height: 10vh;
    padding: 2rem 1rem;
    display: flex;
    justify-content: center;
    align-items: center;
    flex-flow: row wrap;
}

.btn {
    min-width: 10rem;
    font-size: 1.75rem;
    font-weight: bold;
    color: #fff;
    margin: 1rem;
    padding: 0.75rem 1.25rem;
    border: 0;
    border-radius: 1rem;
    transition: all 0.5s ease;
    background: linear-gradient(315deg, #a40606 0%, #d98324 74%);
    clip-path: polygon(0% 15%, 15% 15%, 15% 0%, 85% 0%, 85% 15%, 100% 15%, 100% 85%, 85% 85%, 85% 100%, 15% 100%, 15% 85%, 0% 85%);
}

.btn:hover {
    transform: scale(1.1);
}
Now since the buttons are looking good, concentrate on the boxes or images.
.card {
    width: 15rem;
    height: 15rem;
    border: 0.5rem solid #d98324;
    clip-path: polygon(0 0, 95% 5%, 100% 100%, 0% 100%);
    transition: all 1s;
}

.card:hover {
    clip-path: polygon(0 0, 100% 0%, 100% 100%, 0% 100%);
}
Cool. We've a nice UI. Let's add functionality to the buttons.
JavaScript
Let's store all the buttons and the images in seperate variables.
// Variables

const btns = document.querySelectorAll('.btn');
const cards = document.querySelectorAll('.card');
I've used ES6 syntaxes & higher order functions in my code but I'm going to show you both code syntaxes of ES5 & ES6.
Let's add the event, which is to run a function on each button click.
//  Event :  ES5

for (let i = 0; i < btns.length; i++) {
    btns[i].addEventListener('click', filter);
}
Or ES6
// Event:  ES6

btns.forEach(btn => btn.addEventListener('click', filter));
Let's make a list to-do in the function.
- Store the clicked button's
datatext in a variable. - Loop through the images.
- Store the image's
datatext into a variable. - If the button's
datatext matches the image'sdatatext or thedatatext 'all', show those images. Otherwise hide rest of the images.
// Function:  ES5

function filter () {
    const btnTag = this.dataset.tag;

    for (let i = 0; i < cards.length; i++) {
        cards[i];
        const cardTag = cards[i].dataset.tag;

        if (btnTag == cardTag || btnTag === 'all') {
            cards[i].style.display = 'block';
        } else {
            cards[i].style.display = 'none';
        }
    }
}
Or use the cool ES6 syntaxes to make things tidy.
// Function: ES6
function filter () {
    const btnTag = this.dataset.tag;
    cards.forEach(card => {
        const cardTag = card.dataset.tag;

        if(btnTag === cardTag || btnTag === 'all') card.style.display = 'block';
        else card.style.display = 'none' ;
    });
}
What about even cooler function 😎
// Function: cooler ES6
function filter () {
    cards.forEach(card => {
        [card.dataset.tag, 'all'].includes(this.dataset.tag) ?
        card.style.display = 'grid':
        card.style.display = 'none';
    });
}
Great! You made it. Here's the source code, in case you're confused seeing all the different code snippets.
What's next?
In my code I didn't apply any active state for the clicked button. But it's easy & let me tell you the method.
- In the css create a class with active styling.
- Include the class in the
allbutton to display all images. - In the
filterfunction,- Remove the active class from all the buttons.
- Add the active class the to the clicked button.
Thanks for reading. Please give feedback to help me improve in writing. I post my daily updates in Twitter. Let's connect.